Getting Started with Foreman: Part 1
What is Foreman
From their website:
Foreman is a complete lifecycle management tool for physical and virtual servers. We give system administrators the power to easily automate repetitive tasks, quickly deploy applications, and proactively manage servers, on-premise or in the cloud.
===
This is a multi-part series about provisioning and automating things with Foreman. It’s going cover deploying Debian, Windows (7/10/Server) and ESXi as well as automating things like Package installs.
Since I am using VMWare, this tutorial is going to involve integration with vCenter and ESXi. Foreman supports Bare metal, Amazon EC2, Google Compute Engine, OpenStack, Libvirt and oVirt, so if you use any of those some of the instructions won’t match up.
Table of Contents
- Part 1: Getting Started
- Part 2: Deploying Windows 7/10/Server
- Part 3: Deploying ESXi
- Part 4: Getting Started with Puppet
- Part 5: Advanced Puppet
Installing Foreman
Installing the OS
In this case I am going to give the Foreman VM 1 vCPU and 2 GB of RAM as well as 25 GB of HDD Space. The Specs are very dependent on the amount of hosts you are managing with puppet. For my production Foreman VM, which has about 50 hosts checking in, I provisioned 3 vCPUs and 4 GB of RAM.
Since this will deploy machines over DHCP, I am going to set a static IP. Also since we don’t have a DNS Server yet (let’s assume), I am going to set it to the Google DNS
The hostname for this test box is war-dev-puppet01.beryju.org, but don’t let that puppet throw you off. I chose to use puppet instead of foreman since it fits better in my naming Scheme. For partitioning I am going to go with a single Partition.
Looking good so far!
Installing Foreman
Now we’re going to actually start installing Foreman itself.
echo "deb http://deb.theforeman.org/ jessie stable" > /etc/apt/sources.list.d/foreman.list
echo "deb http://deb.theforeman.org/ plugins stable" >> /etc/apt/sources.list.d/foreman.list
apt-get -y install ca-certificates
wget -q https://deb.theforeman.org/pubkey.gpg -O- | apt-key add -
wget -q https://apt.puppetlabs.com/puppetlabs-release-pc1-jessie.deb
dpkg -i https://apt.puppetlabs.com/puppetlabs-release-pc1-jessie.deb
rm puppetlabs-release-pc1-jessie.deb
apt-get update && apt-get -y install foreman-installer foreman-vmware
foreman-installer
puppet agent -t
Dependant on your distribution, you might need to adjust that jessie. This adds the Foreman APT Repository, installs their public GPG Key and installs the foreman-installer Package. This package installs Foreman, Foreman Smart Proxies and everything else needed.
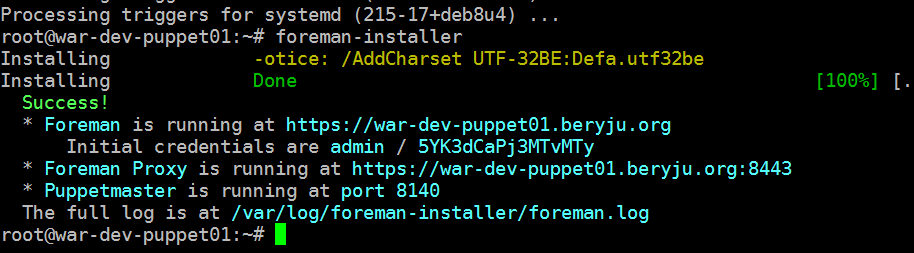
This should be the result we get after running above commands. Now we can access the Web Interface of Foreman, which is listening on https://<ip>. First time authentication happens with the credentials provided after the installation. You probably want to change your password to something you can actually remember. To do that, you click on Admin User on the Top Bar, My Account and change it there.
Setting up Foreman
Now that we have everything installed, let’s start setting Foreman up for provisioning. To start that process, we go to Infrastructure and then Provisioning setup. On that page we select a Network adapter for the provision network. This will most likely stay on eth0.
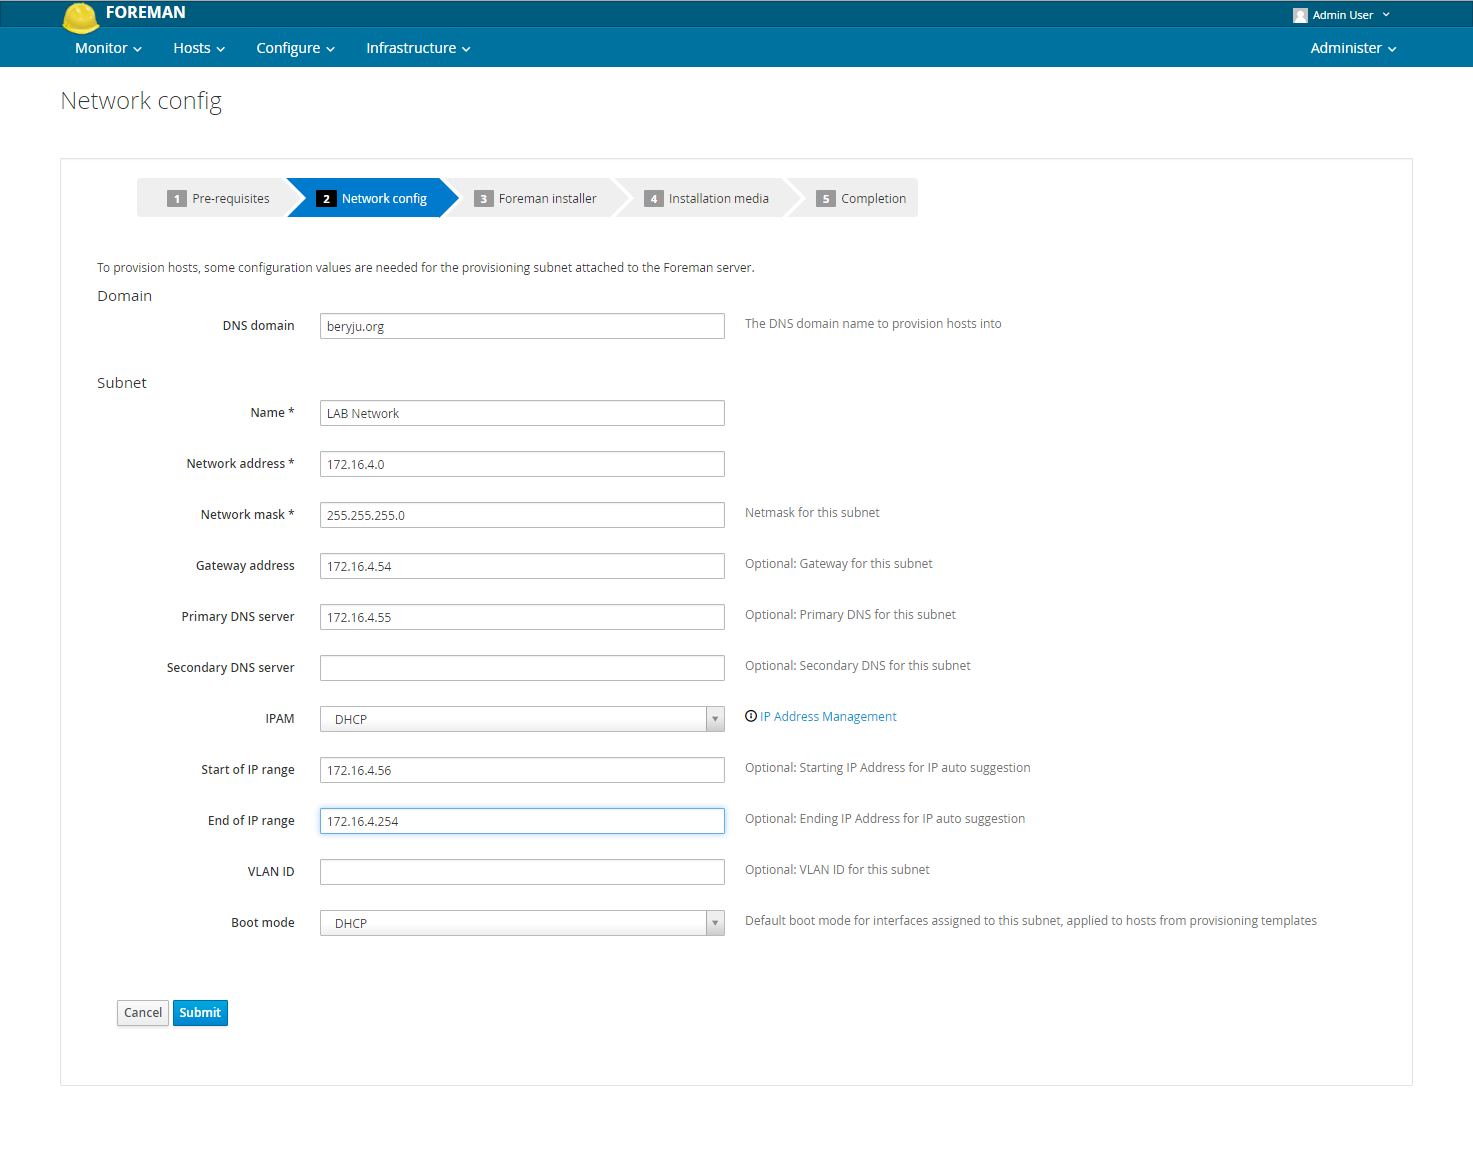
On the next page we fill in some information about our network, which look like this in my example:
On the next page we are going to copy and execute the first snippet, which re-configures Foreman with a Smart-Proxy, a DHCP Server and a TFTP Server. After the installer is done, we should get a similar output to earlier. But don’t reload the webpage, since we are not quite done with the wizard yet. Click on Next to continue and Choose an OS Mirror. Since I am using Debian 8 in this case, I am going to keep the official Debian Mirror. Click Submit once again and we’re done with the provisioning setup (mostly).
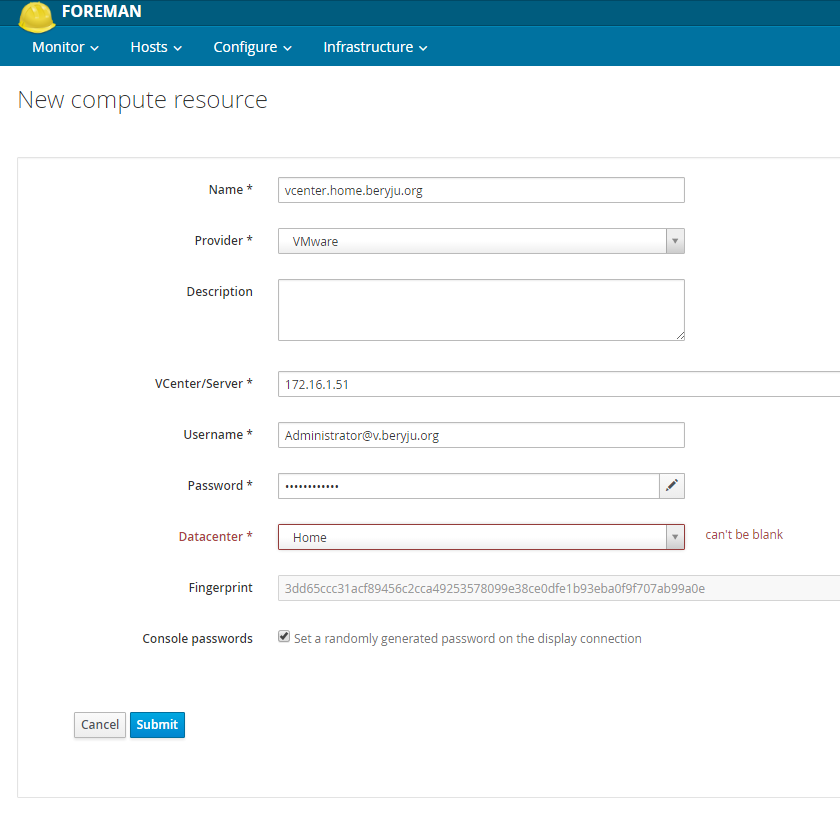
We need to do one final thing before we can use Foreman to create and provision VMs. Navigate to Infrastructure, Compute Resources and select New. Here we can add our vCenter or ESXi connection, which looks like this in my case:
Ok I lied. One more thing we have to do before creating our first VM. We have to set our Foreman box as DNS Proxy for the Domain we’re using. This is done by going to Infrastructure -> Domains -> <your domain> -> DNS Proxy. The reason why we set this is so that Foreman creates A Records for our VMs as well as PTR Records.
Creating our first VM
Alright, enough setting up. Let’s create a VM to test if everything works. Go to Hosts -> New host. For this VM it should look something like this (obviously with your Hostnames)
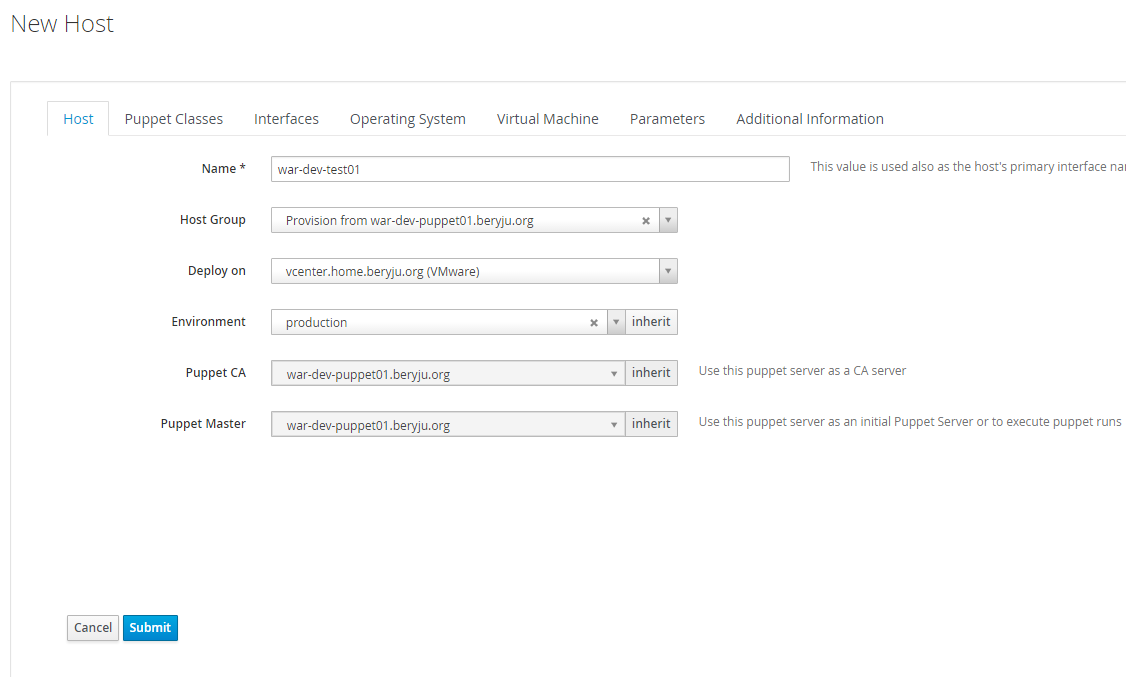
Switch over to the Interfaces tab to configure the VMs Interfaces. Click Edit on the first Interface to change the Domain, Subnet and Portgroup, which you might need to change. Over on the Operating System tab, all we have to do is set the root password. On the Virtual Machine Tab we have to set the VM Host/Cluster as well as the datastore. Let’s start the creating by clicking Submit and cross our fingers!
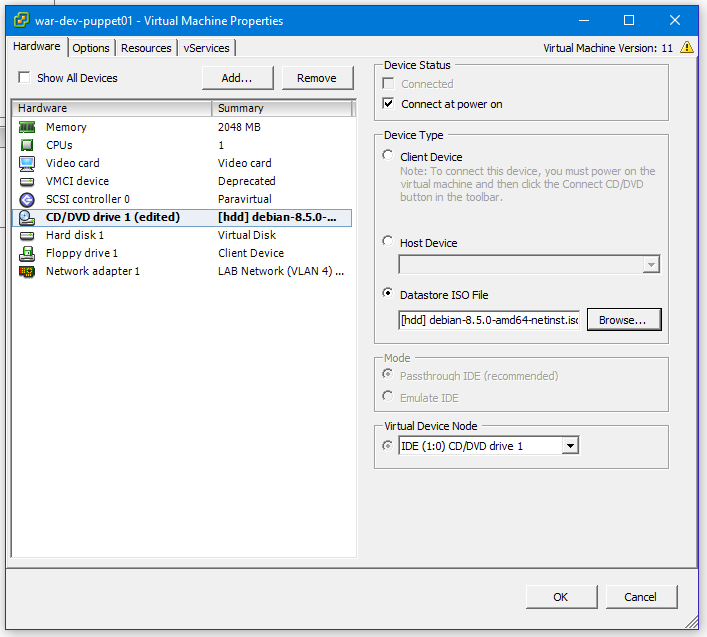
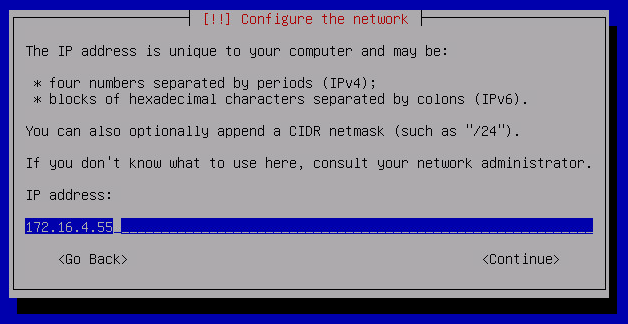
If all goes well, it should look something like this
Now it’s time to grab a coffee and read some /r/homelab until the install finishes.
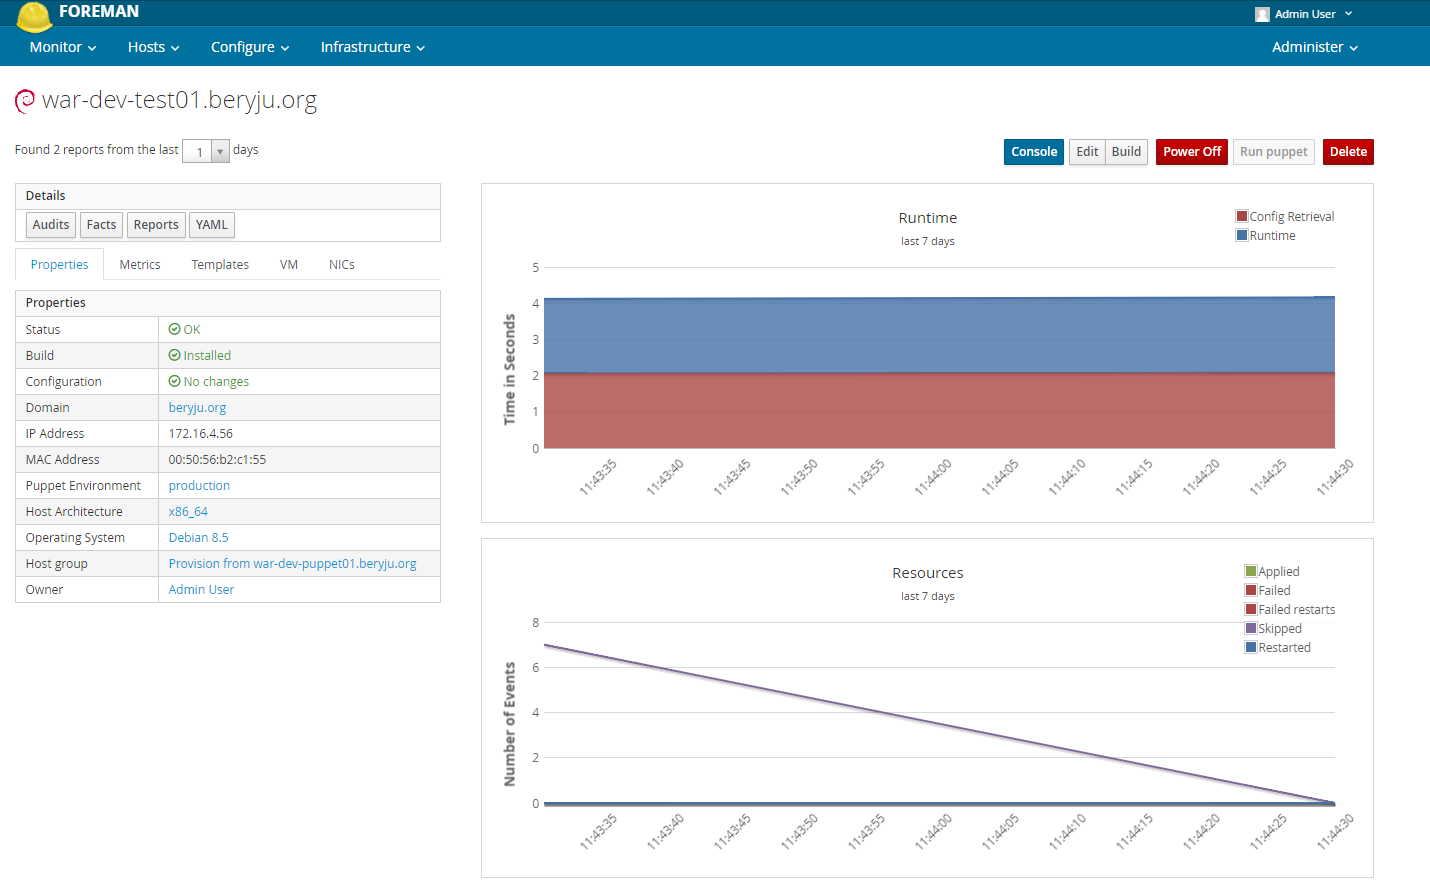
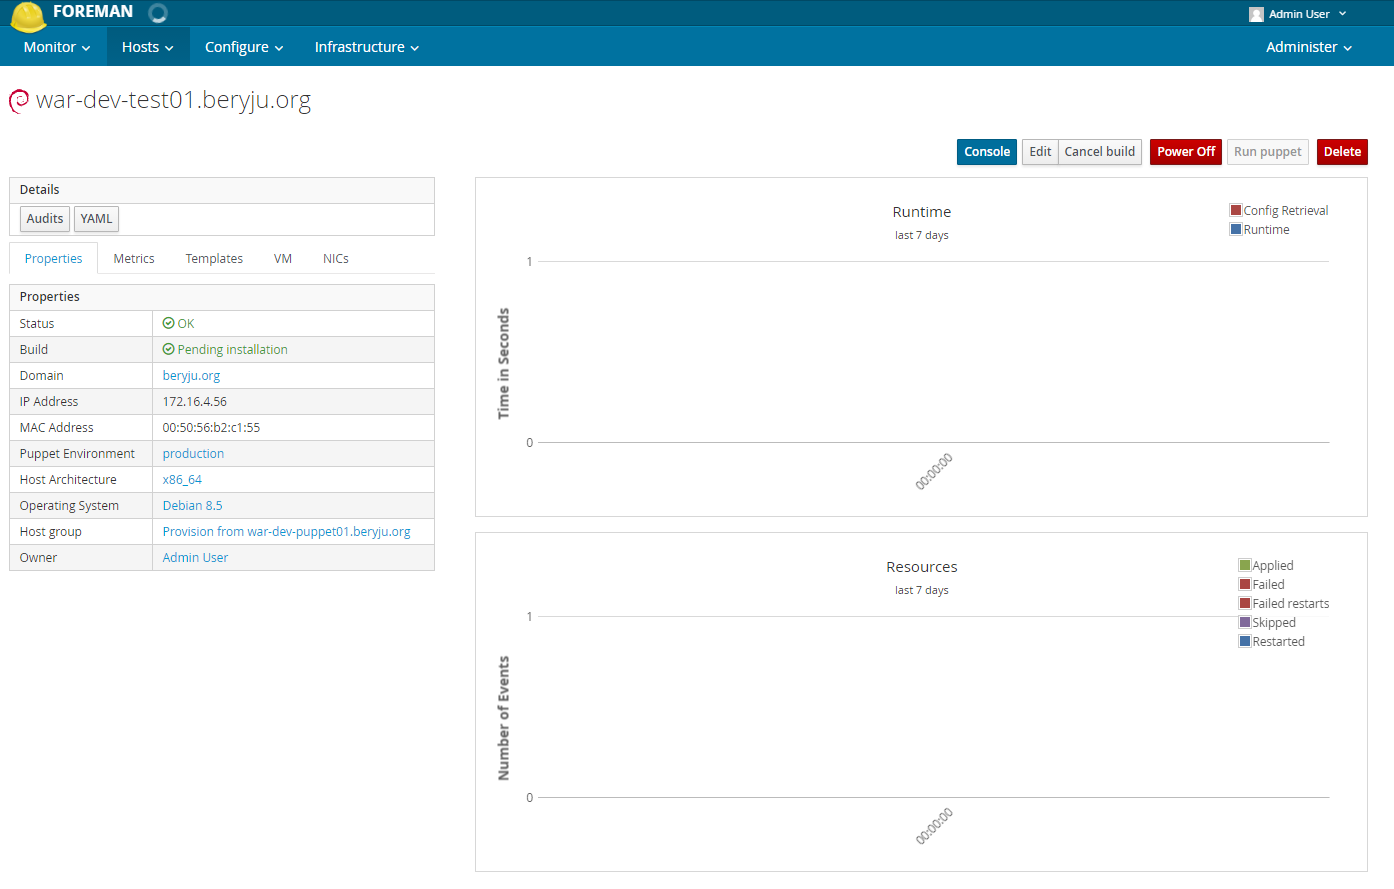
After about 10-15 mins, it should be done with the install, and if all goes well, this is what the host page should look like now.